


Project photos
Mobile Home Transport and Setup Project Photos
Every photo on this page comes from a job we actually moved, set, leveled, anchored, or repaired. No stock trucks, no borrowed images, no “representative” shots of somebody else’s crew. If you want to know what a professional mobile home transport and setup job looks like on the ground — the blocking, the straps, the pier spacing, the paperwork — scroll through and look closely.
We publish our work for a simple reason: the mobile home industry has a trust problem. Homeowners get quoted a cheap number, then discover the crew has no permits, no insurance certificate, and no idea how to level a unit so the doors still close after the first summer. Photos are the fastest way to show the difference. On this page you’ll see how we load and secure a unit for travel, how piers and footings are built, how a tie-down system is laid out for a specific wind zone, and what a clean, inspection-ready site looks like when we drive away.
Mobile home transport and hauling
Transport is where most damage happens, and it is the part customers almost never get to watch. These photos are from the loading and securement side of the job: the step-deck and lowboy setups we use for single-wides and multi-section units, how the frame is supported so the home doesn’t flex in transit, and the strap, chain, and hitch configuration we check twice before a wheel turns.
-
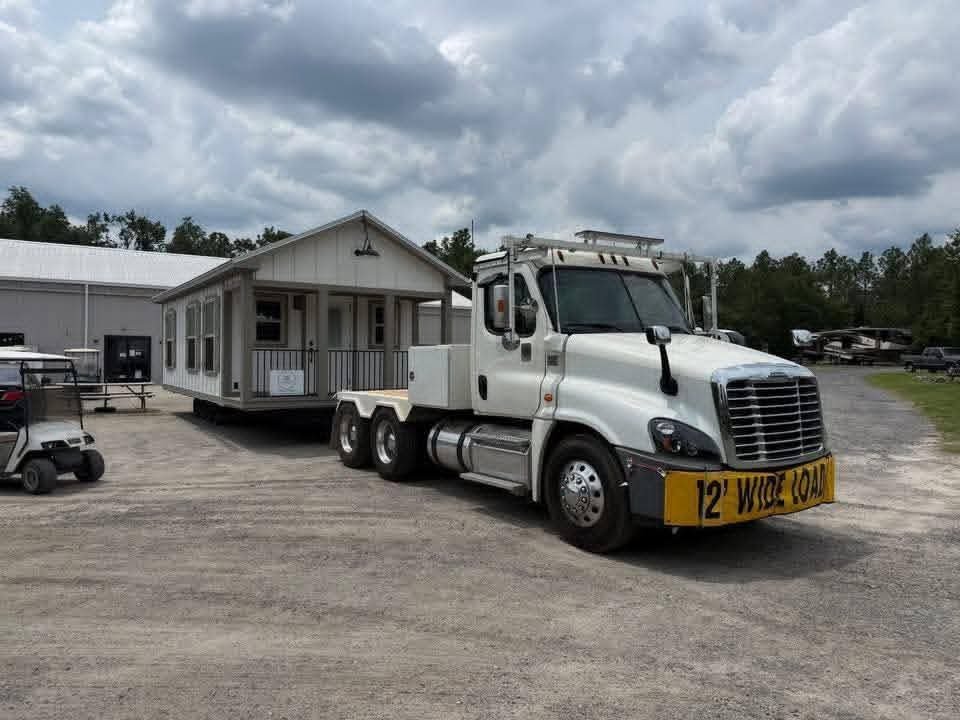
Step-deck loading. Unit winched onto the deck in stages so the frame never takes a point load. -
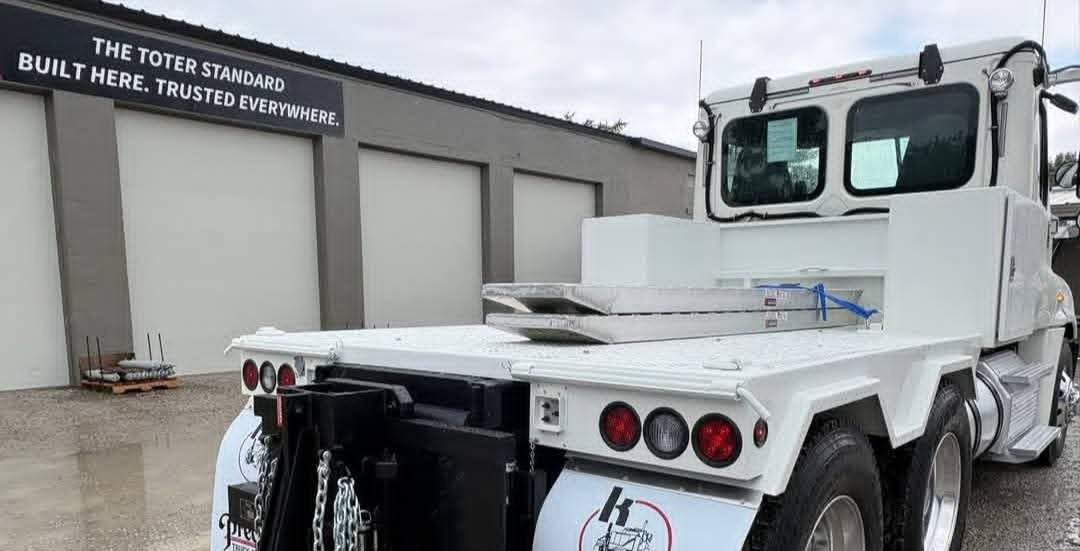
Frame and hitch securement. Tongue and coupling checked, then backed up with a safety chain. -
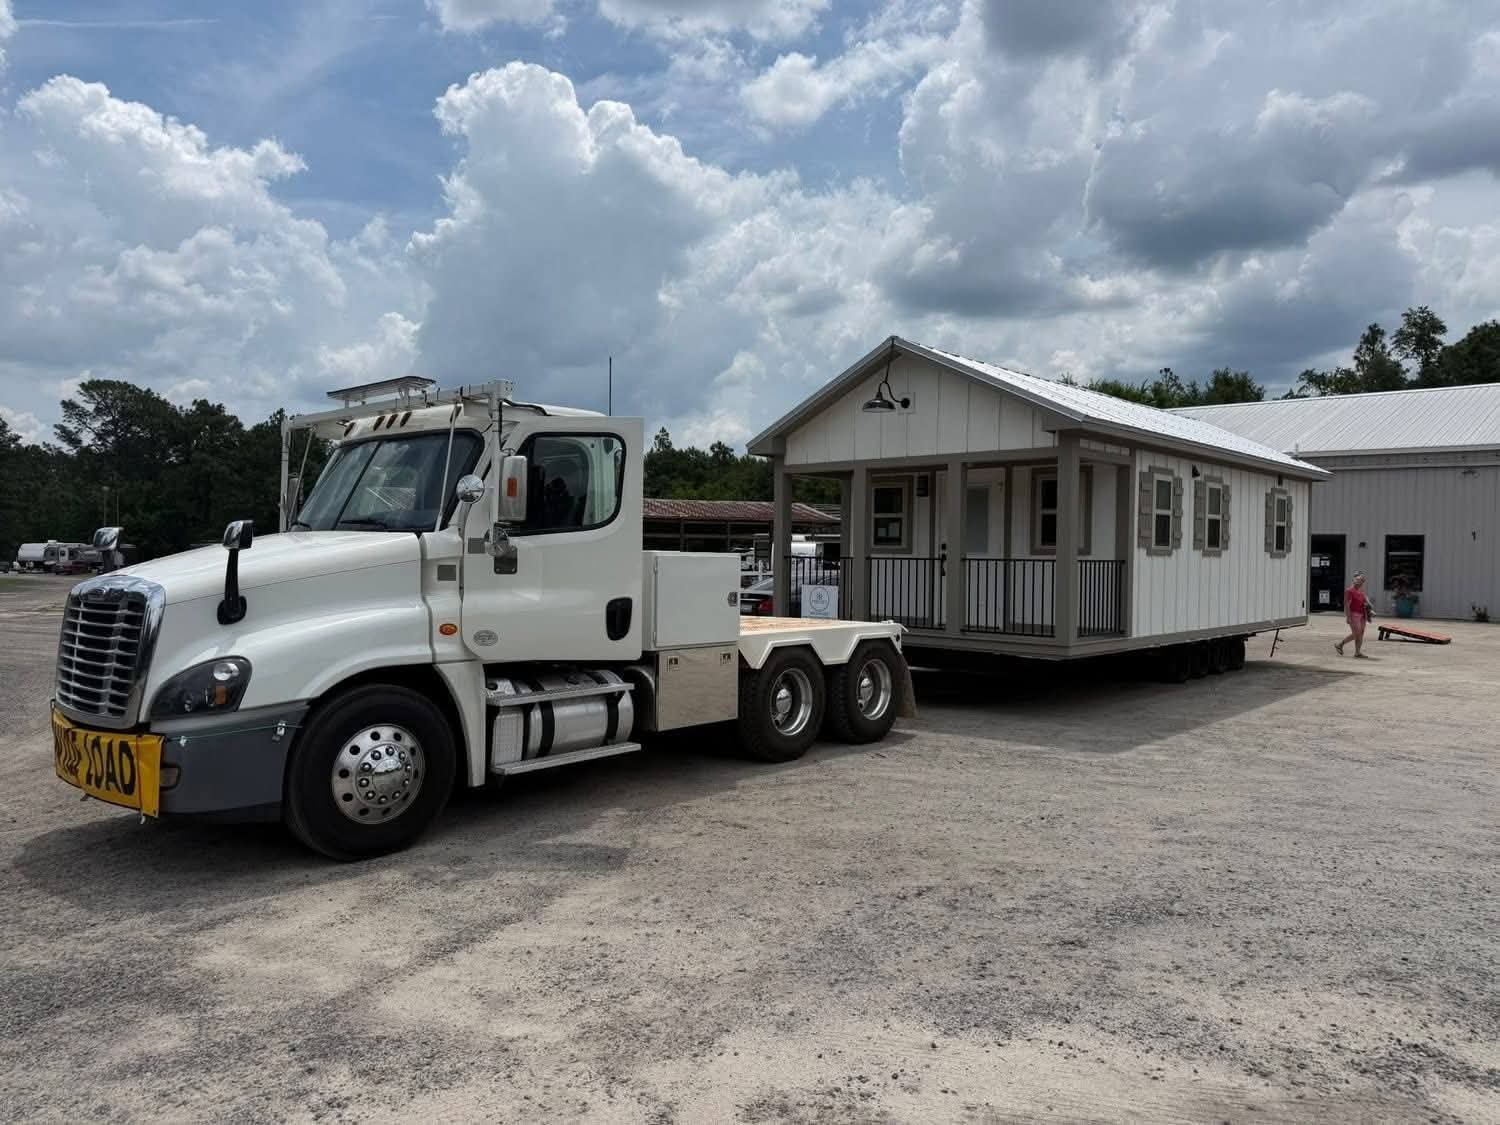
Over-the-top straps. Padded straps over the roofline, rated for the load, spaced to stop lateral sway. -
Multi-section pairing. Both halves loaded and matched to the same route so they arrive together. -
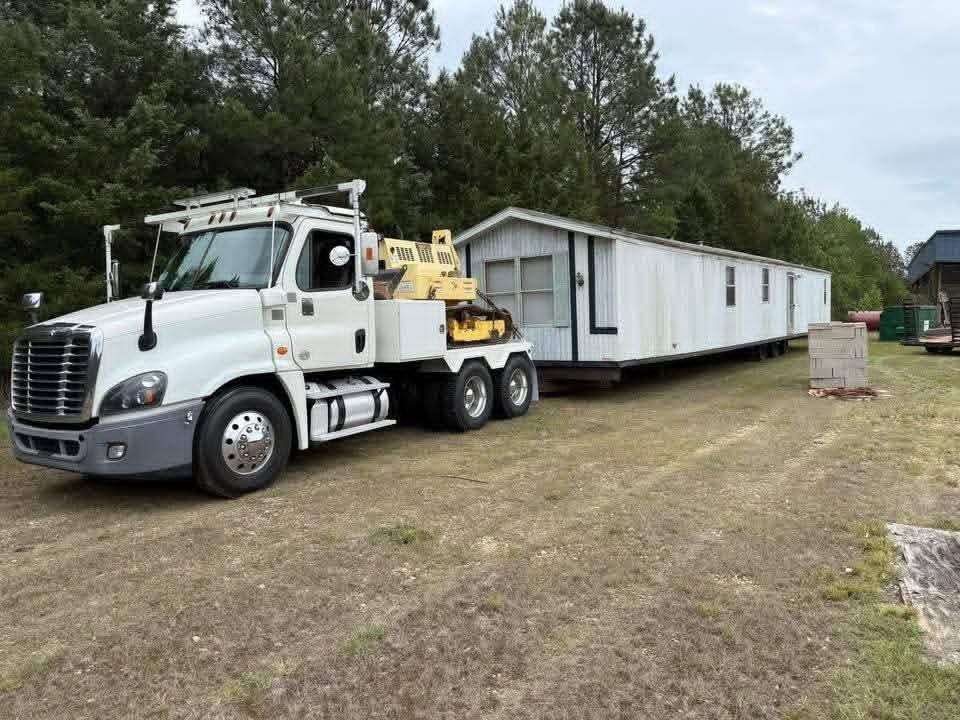
Route scouting. Low limbs, tight turns, and grade changes checked before the escort rolls. -
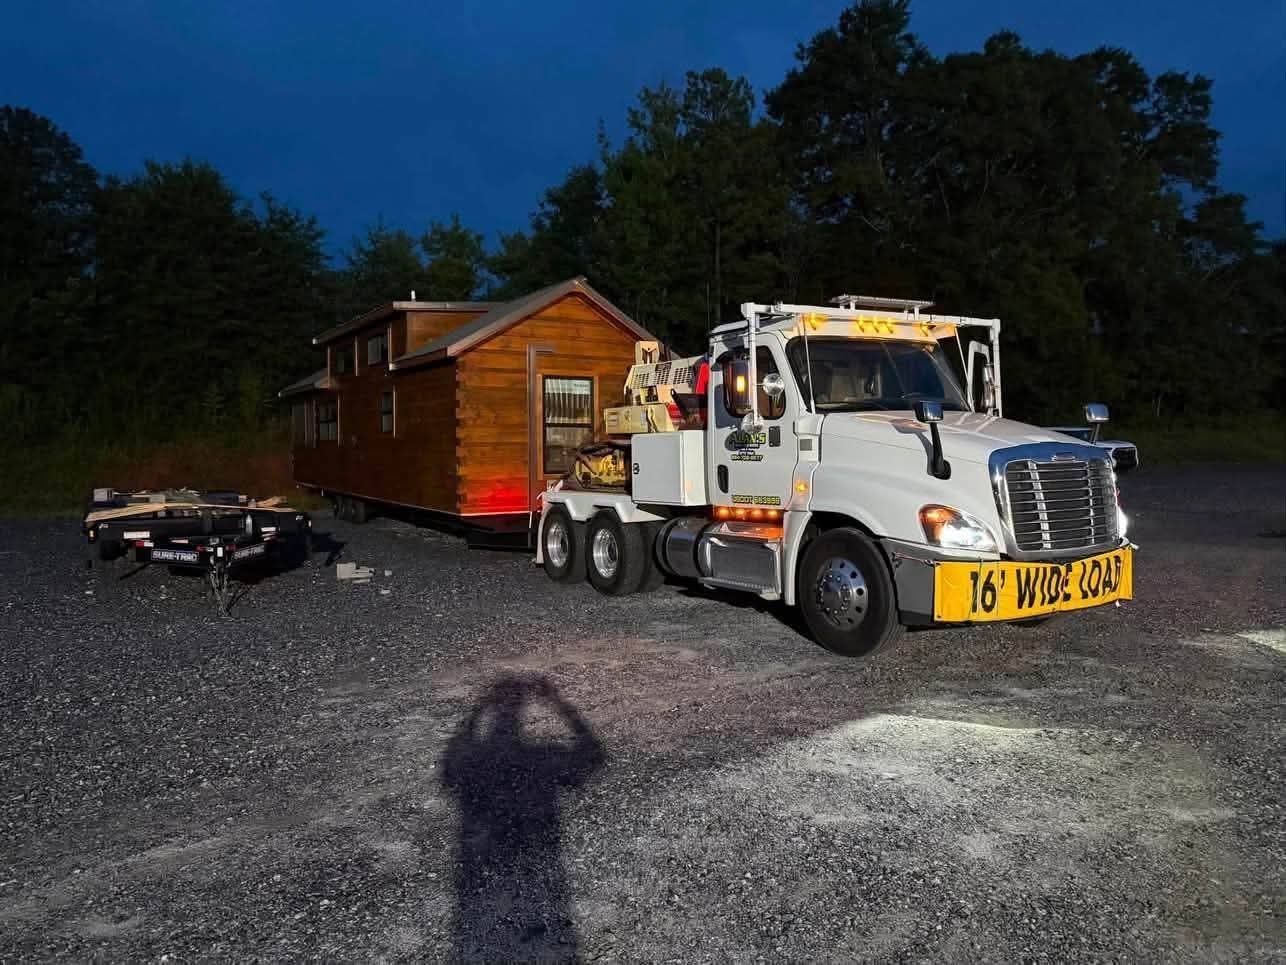
Arrival and positioning. Unit spotted on the pad line so the setup crew starts square.
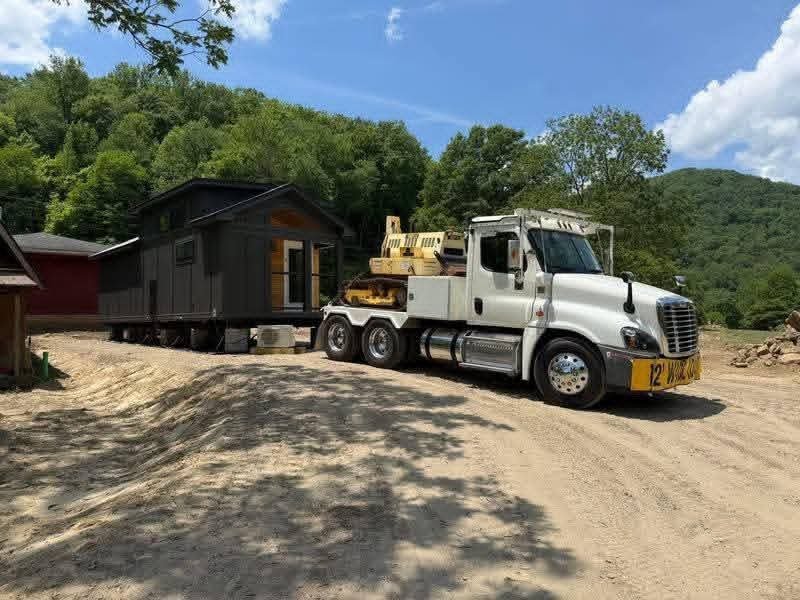
What to look for in these shots: padding where a strap crosses an edge, chain binders with the handle wired shut, and mud flaps or shielding over the wheels. Small details, but they are the difference between a unit that arrives straight and one that needs a wall repaired before it can be sold. The full scope of hauling, including what we can and cannot move, is on the mobile home transportation page.
Mobile home setup, leveling, and stabilizing
Setup is the work that decides whether a home feels solid for the next twenty years. You are looking at footings, pier spacing, shimming, and the final level check — the parts of the job that are buried under skirting and forgotten until something goes wrong.
-
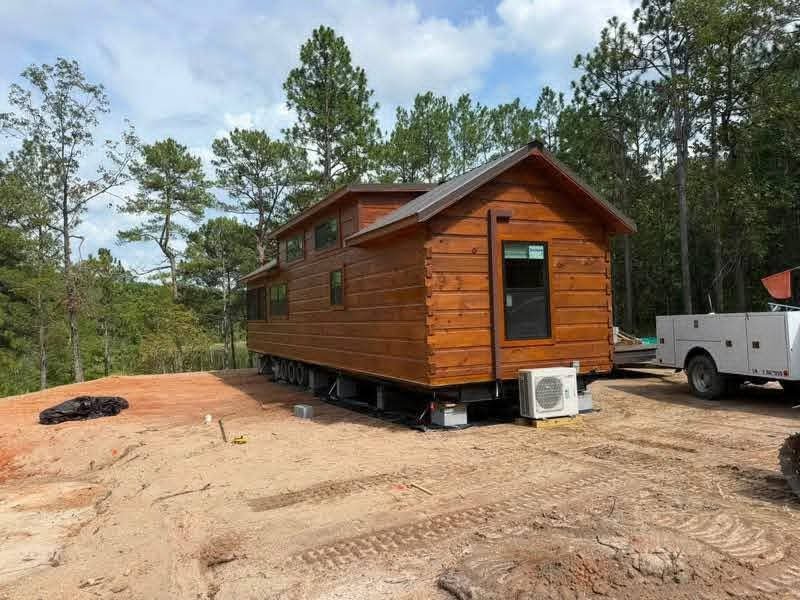
Pad prep first. Grade, compaction, and drainage checked before a single block goes down. -
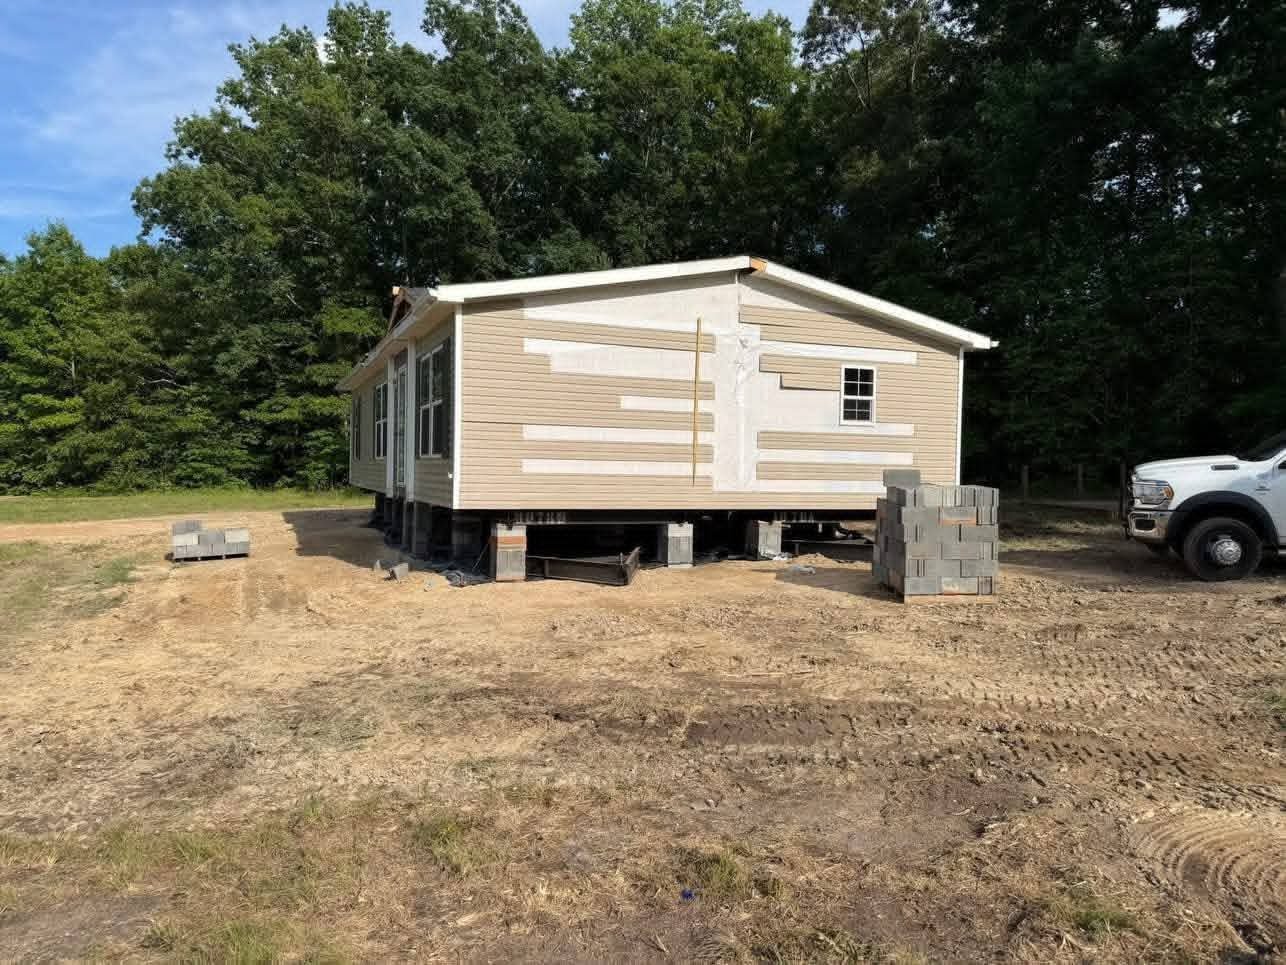
Footings and piers. Concrete pads under block piers, spaced to the frame’s load points rather than eyeballed. -
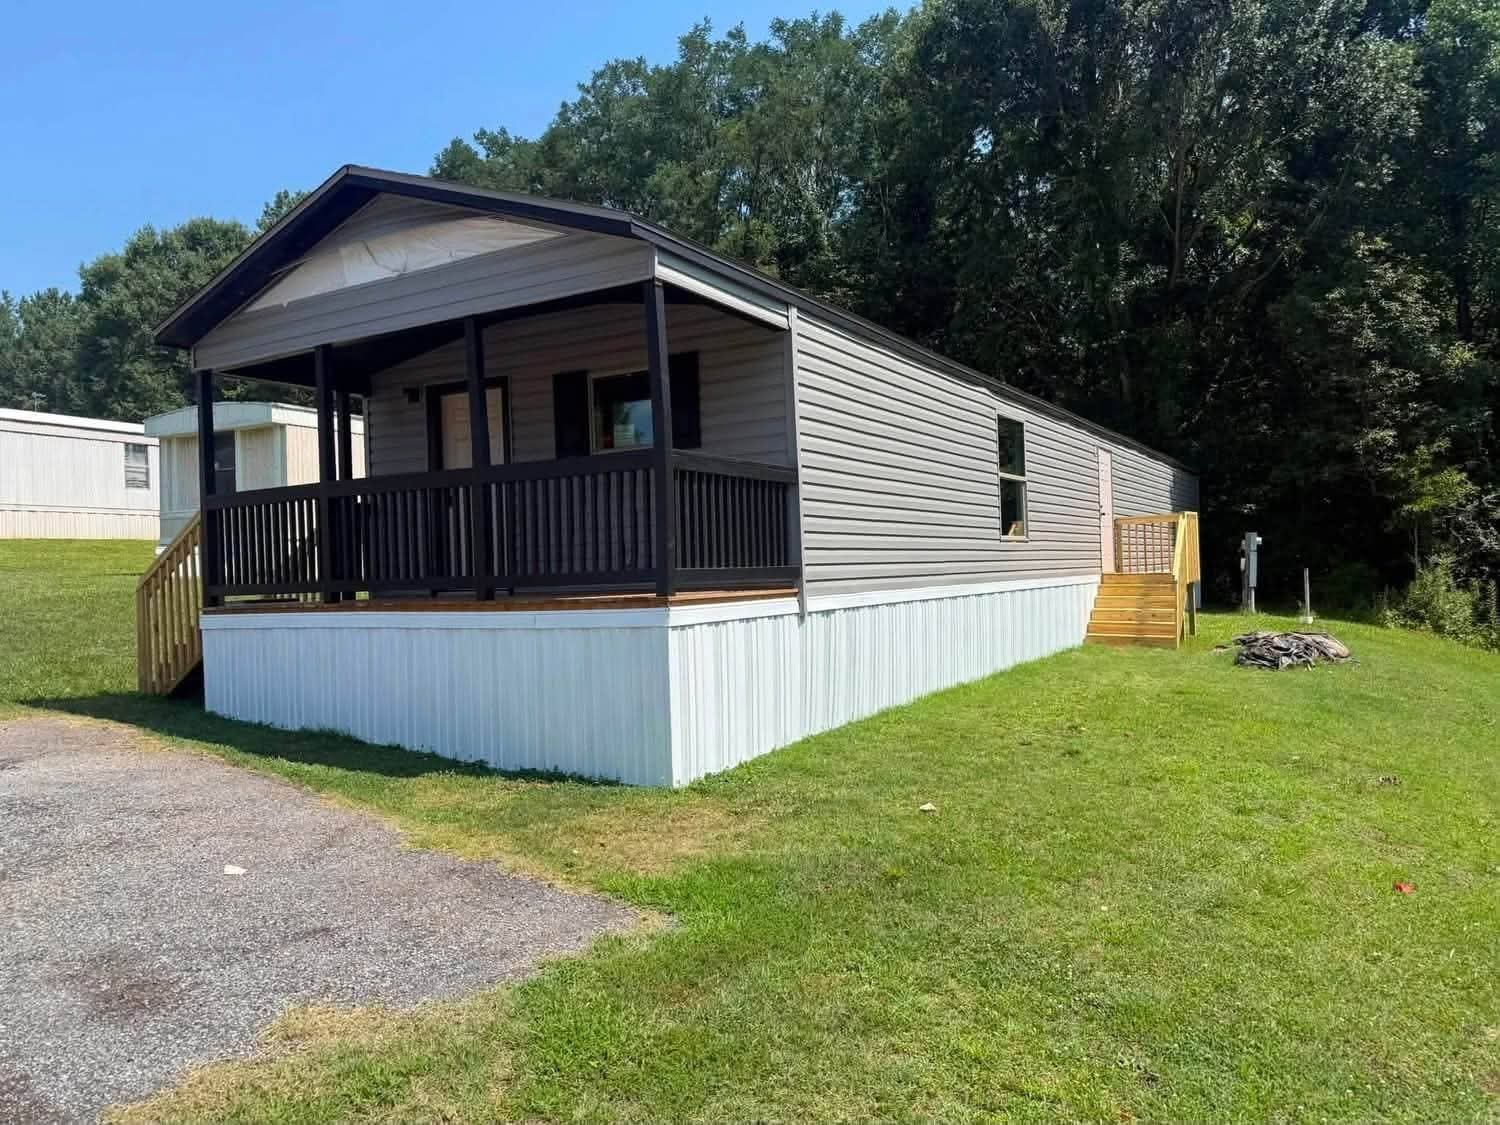
Shimming the frame. Hard shims at each pier, doubled where the frame carries a marriage wall. -
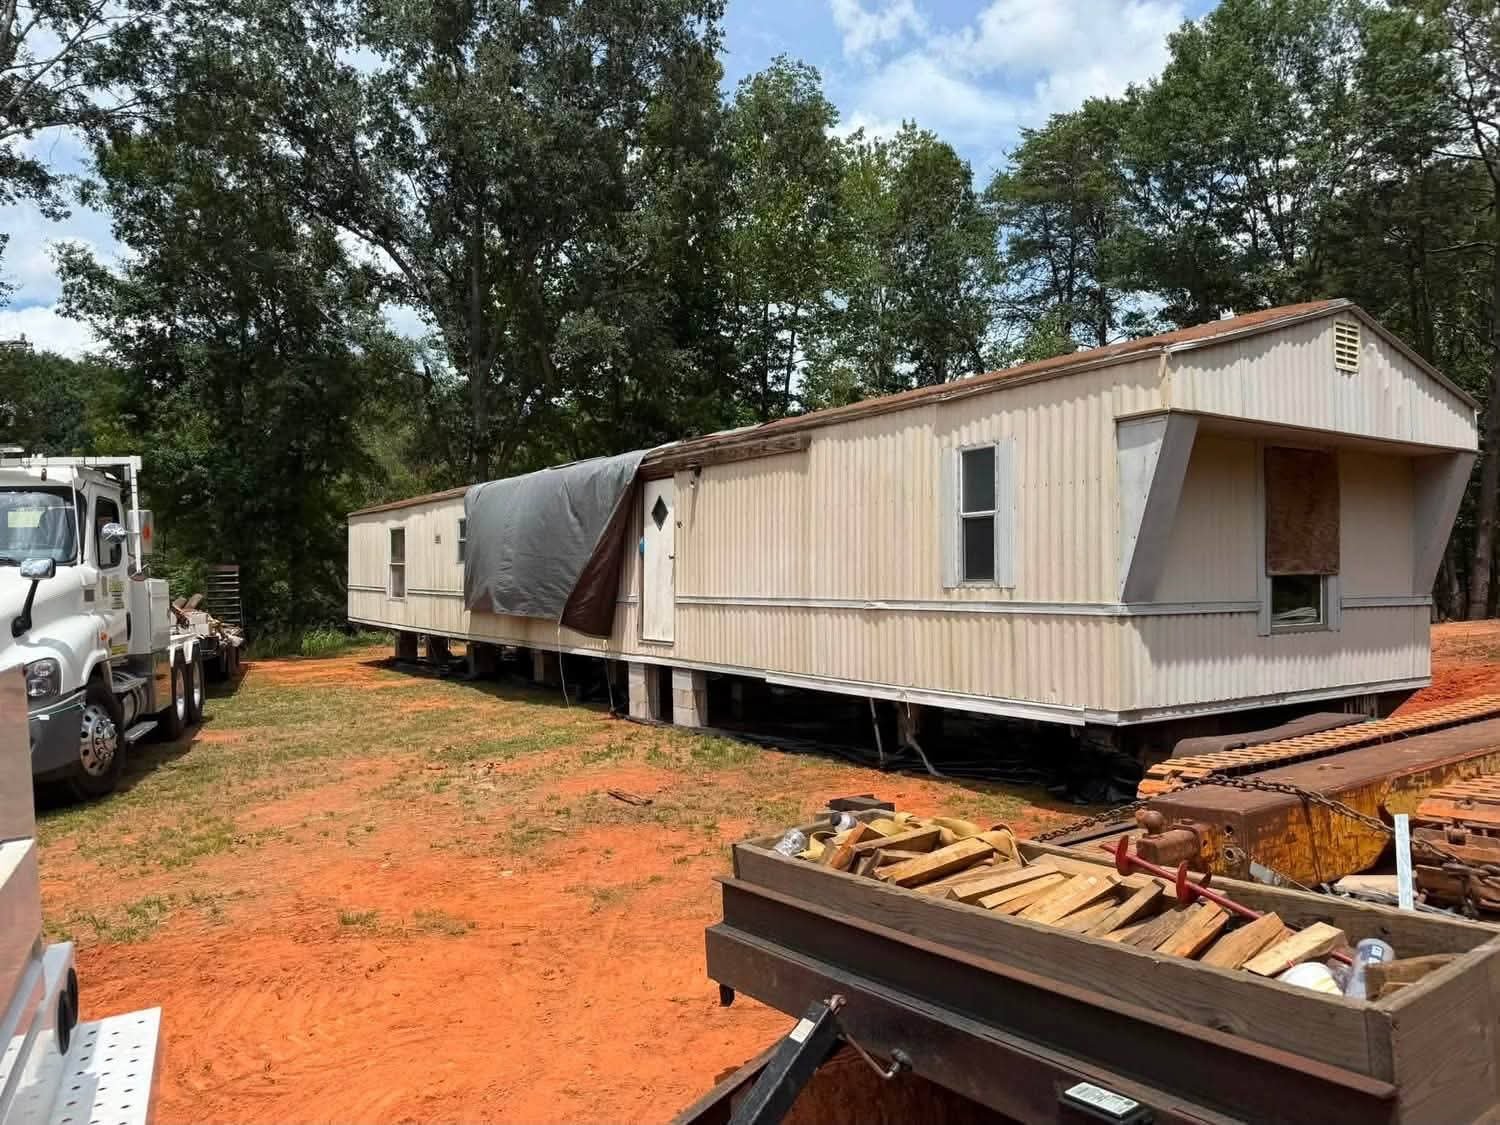
Level check. Water level and laser cross-checked front to back, side to side. -
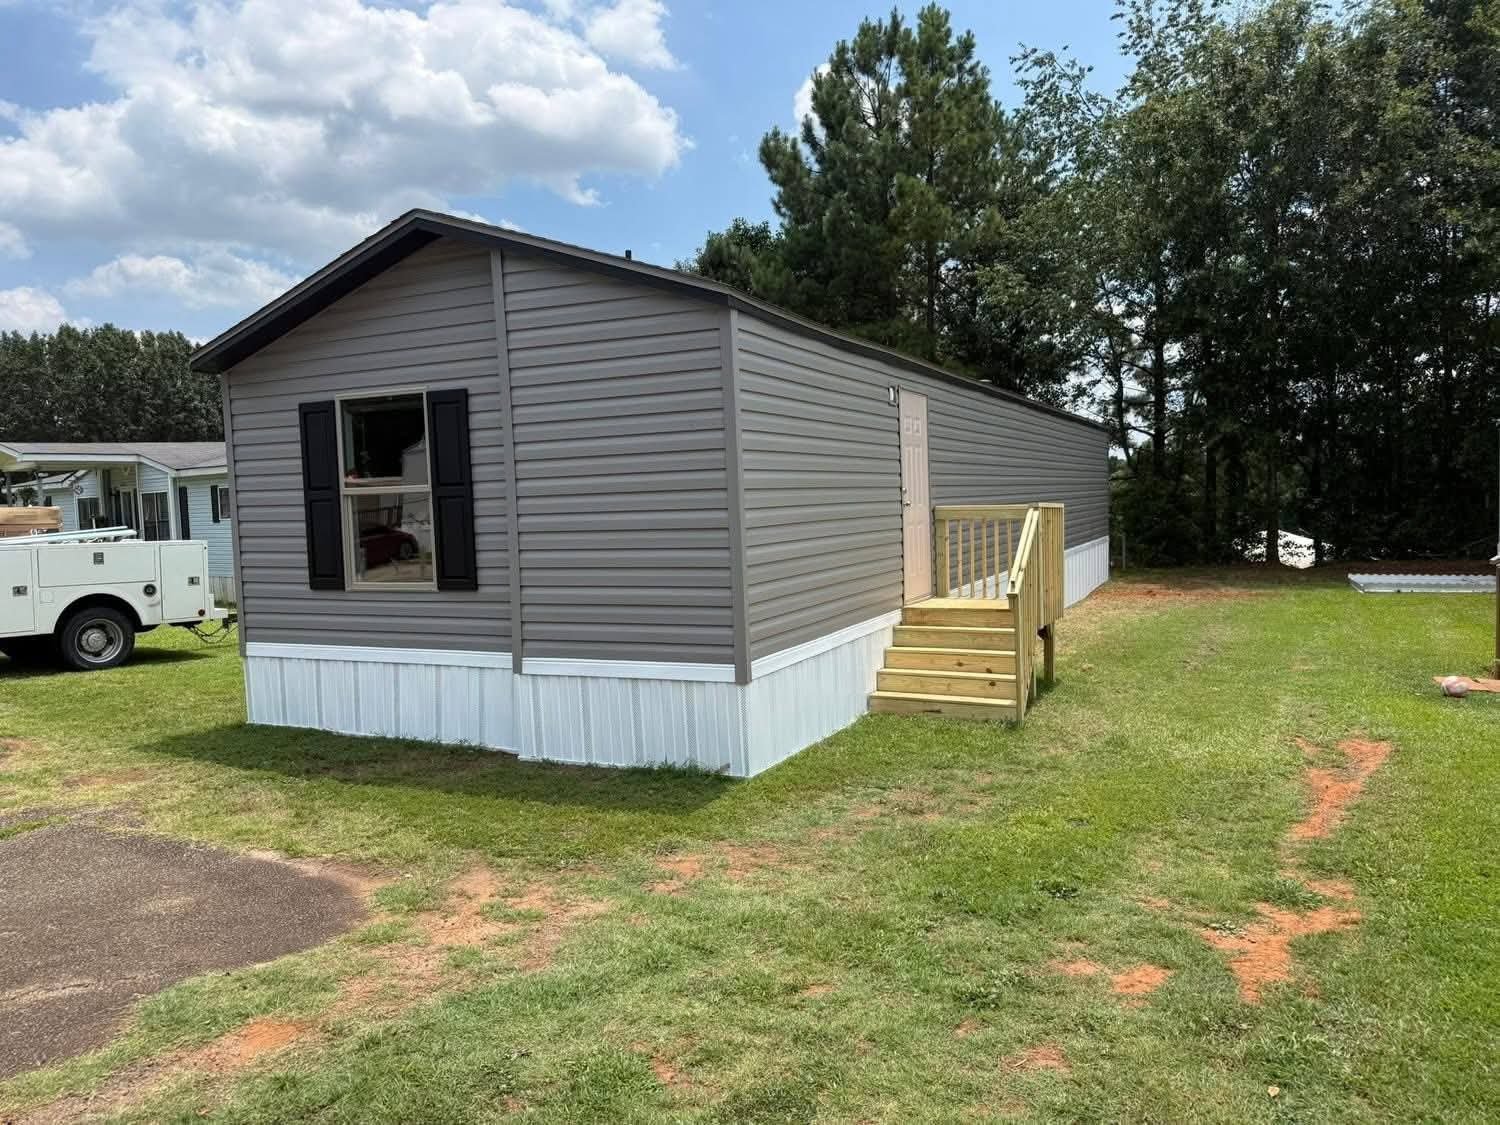
Marriage line join. Halves drawn together, bolted, and sealed before trim goes back on. -
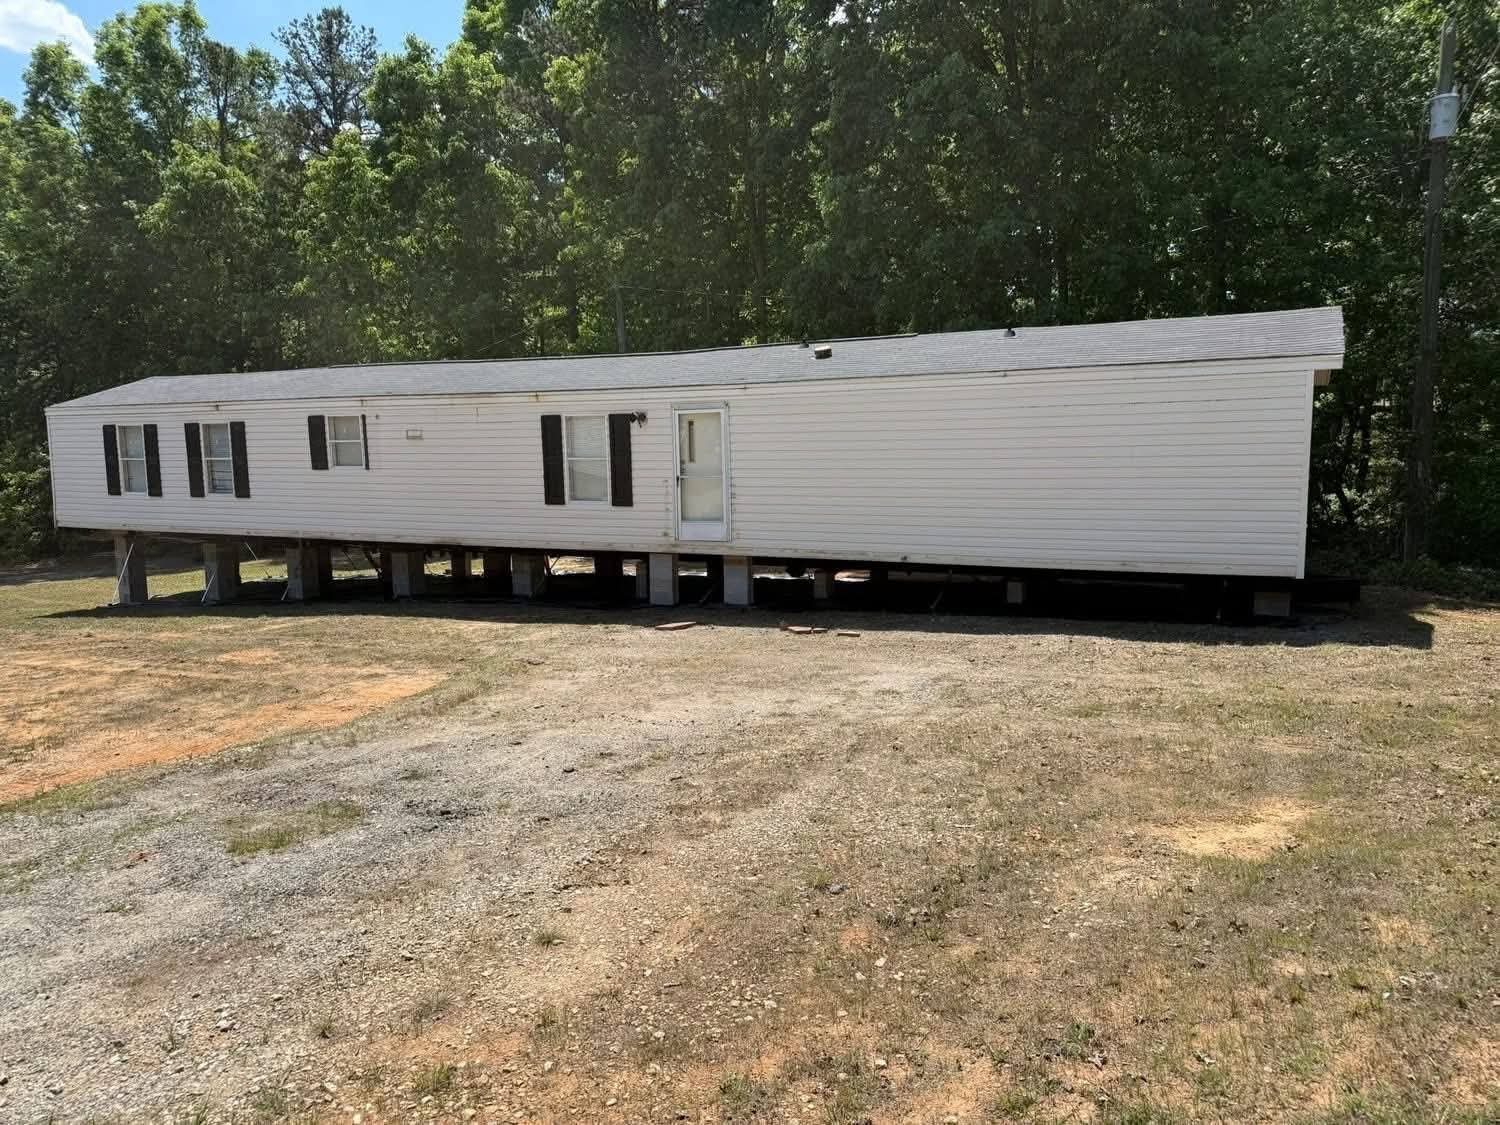
Skirting and access. Panels fitted with a serviceable access point — not sealed shut.
If your current home has doors that stick in July and gaps that open in January, that is a leveling problem, not a door problem. Our leveling and stabilizing service covers re-leveling, pier replacement, and re-shimming without moving the unit.
Anchoring and tie-downs
Anchoring is regulated, inspected, and specific to your wind zone. There is no such thing as a generic tie-down job, which is why these photos show the hardware and the layout rather than just the finished skirt line.
-
Ground anchors set. Auger anchors driven to torque, not to a guessed depth. -
Frame ties. Straps connected to the main frame beam at the manufacturer’s points. -
Over-the-top ties. Roof straps tensioned evenly so the home is held, not pulled out of square. -
Hardware detail. Turnbuckles, tensioners, and clips matched to the strap rating. -
Layout check. Anchor spacing marked against the installation manual before driving. -
Final tension pass. Every strap re-checked by hand after the last anchor is set.
Not sure what your wind zone requires? Read installation requirements or our guide to anchoring and tie-downs before you approve anyone’s quote.
Inspection, permits, and compliance
A job isn’t finished when the truck leaves. It’s finished when the inspector signs off. These photos show the documentation and site conditions that make an inspection pass the first time instead of the third.
-
Pre-inspection walk. Access clear, skirting open, anchor tags visible for the inspector. -
Permit package. Transport permit, installation affidavit, and anchoring certificate in one folder. -
Utility connections. Water, sewer, and electrical tie-ins labeled and ready for the trade inspection. -
Sign-off sheet. Completed checklist signed on site, copy left with the homeowner.
Learn more about our inspection service and transport permits, including what your county will ask for.
Repairs, relocation, and re-leveling
Older units are where the real craft shows up. These are repairs and relocations on homes that had been sitting for years — soft floors, failed piers, storm damage, and the structural work needed before a unit can legally move again.
-
Subfloor repair. Rot cut back to sound material, then re-decked and re-secured. -
Failed pier replacement. Crushed block replaced with a proper footing and capped pier. -
Storm damage. Roof and skirting repairs documented before and after for the insurance file. -
Move-out prep. Unit prepped and re-secured before a second trip down the road. -
Re-level in progress. Jacks set, old shims pulled, frame brought back to true. -
Handover. Site cleaned, debris hauled off, homeowner walked through the finished work.
See mobile home repairs, relocation, and setup and installation for the full scope of each service.
Commercial and multi-unit installations
Parks, dealers, and developers need volume handled without losing the detail. These photos cover multi-section installs, repeatable pier layouts across a lot, and the staging discipline that keeps a 20-unit delivery on schedule.
-
Lot staging. Deliveries sequenced by pad number so install crews are never waiting on a unit. -
Repeatable pier layout. Same footing pattern on every pad — faster inspections, fewer surprises. -
Multi-section set. Two- and three-section units joined, leveled, and sealed in one pass. -
Site safety. Barricades, marked travel lanes, and a clean work perimeter on an active lot. -
Punch list walk. Every pad signed off before the crew demobilizes. -
Completed pad. Home set, tied down, skirted, and ready for the buyer walkthrough.
For volume work, start with commercial mobile home installation.
Before and after: a re-level that fixed a three-inch slope
This pair is the clearest illustration of why leveling matters. The unit had settled on the rear pier line, the front door had been planed twice, and the homeowner had been told the frame was bent. It wasn’t. It was out of level by roughly three inches across the length of the home.
How to judge a mobile home contractor from photos
When you compare quotes, ask every company for photos of recent work — and look for these five things. A crew that does good work is rarely shy about showing it.
-
Footings under every pier
Block sitting directly on dirt is a shortcut. Look for a concrete pad or poured footing under the pier, every time.
-
Piers at the frame’s load points
Pier spacing should follow the manufacturer’s installation manual for that home, not a rough guess based on length.
-
Proper hardware, correctly rated
Straps, anchors, and tensioners should match the wind zone. Mismatched or reused hardware is a red flag.
-
A clean, closed-up site
Debris hauled away, skirting fitted, access panel left serviceable. The finish tells you how the hidden work was done.
-
Paperwork in the photos
Permits, anchor certificates, and signed inspection sheets. If a company can’t show a certificate, they probably don’t pull one.
Want to see a job like yours? Tell us the unit type, the age of the home, and what needs to happen — transport, first-time setup, re-level, or anchoring — and we’ll send photos from the closest match in our records. Ask for them in your quote request.
Get a quote, or ask us for more photos
Our crews handle transport, setup, leveling, anchoring, inspection support, repairs, and relocation as one coordinated job, which is why the photos on this page stay consistent from the first strap to the final sign-off. Start with the services overview, check whether we cover your area on movers near me, read what to expect from a transport company, and browse the moving FAQ if you still have questions.